Horikawa Dino Robot. 3D Printed Headparts (L+R) DIY. Vintage Space Toys
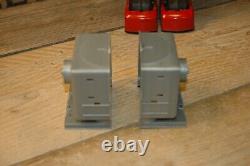
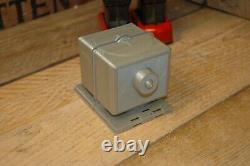
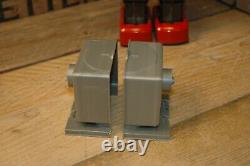
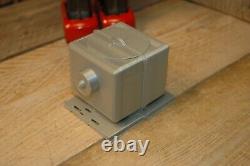
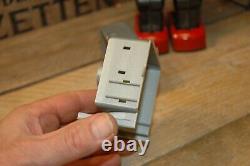
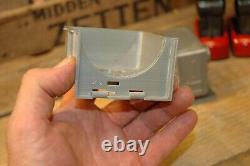
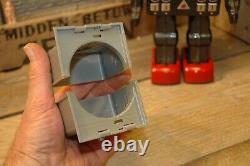
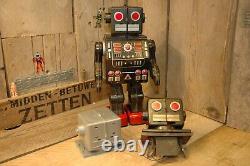
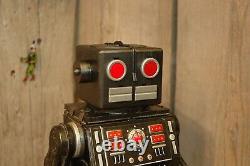
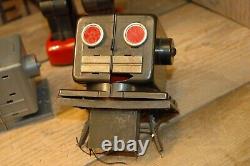
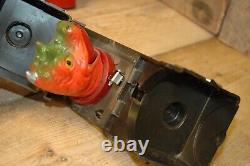
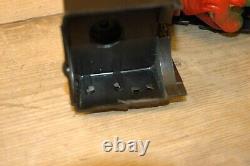
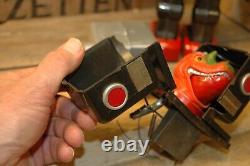

3D Printed Head (L+R) DIY. VST: (V intage S pace T oys).
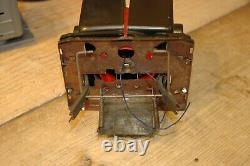
These robots are mostly found with damaged head parts so here is your change to complete your robot again with these 3D printed parts. If you are not handy and are not willing to spent some time and effort in this project then these parts are not for you. First you need all the metal parts that go with your original head.. You need both the hinges (left and right) and both the levers (left and right) that pull the head parts out. Also you need the tin eyes and mouthpiece from your original damaged head.
Make sure you have all the springs and make sure to make good pictures so you know how to put it all back together. Than you need a sharp knife and test the tin hinges and make sure the head parts run smooth through them. This is important to make sure the head opens and closes perfect. You need to make minor and small adjustments to the plastic where the tin hinges will be placed, using a sharp knife. First make sure all fits well before you start to paint the head parts.
Then you need to paint the grey head parts into the correct color and attach all the tin parts, hinges and levers and rebuild your robot again. It's not an easy job but if I can do it.. The 3D printed plastic parts are easy to paint.. For the best result you can sand the parts, spray them in ground paint and finish them in the color you want.
This is the only way to offer the parts at a reasonable price. Make sure you have all the parts as described here above as you will receive ONLY the head parts and. NOT the hinges, levers, eyes and mouth! You have to finish these Head Parts yourself in the correct color and attach all the tin parts to it. A grey left and right grey head part that you need to finish yourself for your Horikawa Dino Robot. I welcome all questions and comments. I will sent additional pictures upon request. Tip: Google: Vintage Space Toys.
